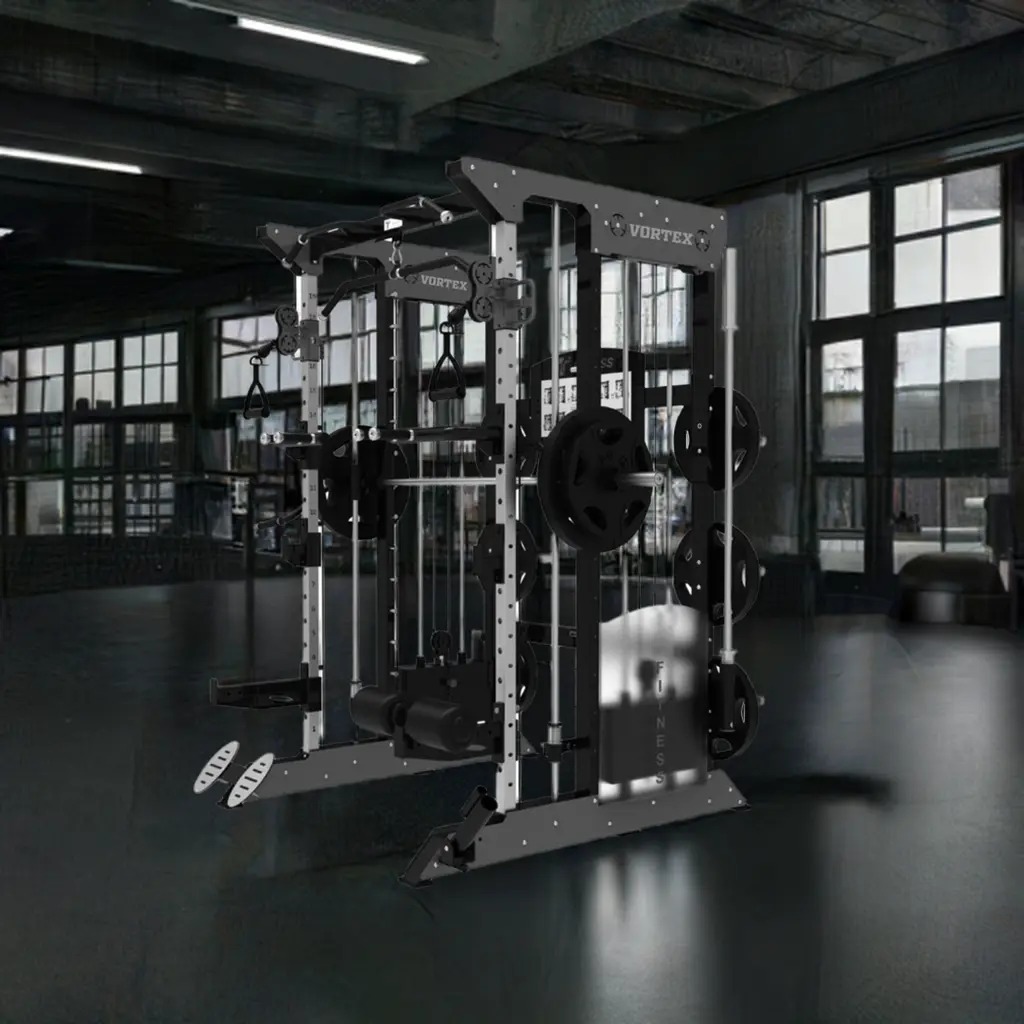
Step 1: Choosing the Right Location
When setting up your squat rack, the first crucial step is selecting the right location. You'll want an area with sufficient space around the rack for your movements during exercises. Ensure the floor is level and can support the weight of the rack and the weights you'll be using. It's best to pick a spot with good lighting and ventilation to create a comfortable workout environment.
Consider the flooring in the chosen spot; it should be stable and non-slip to prevent accidents. If you're setting up the squat rack in a home gym, check the ceiling height to confirm it accommodates the rack and your height during exercises like overhead presses. Keep in mind that a clear area around the squat rack enhances safety and allows for unrestricted movements.
Moreover, think about the convenience of the location. It should be easily accessible and not interfere with other gym equipment or furniture. By selecting a suitable location, you lay the foundation for a safe and effective workout experience with your squat rack.
Step 2: Assembling the Squat Rack Components
Once you've secured the ideal location, it's time to assemble your squat rack components. Start by unpacking all the parts and carefully checking them against the assembly instructions. Familiarise yourself with each piece to ensure a smooth assembly process. Follow the step-by-step guide provided to avoid any mistakes in setting up the rack.
When connecting the components, use the recommended tools to tighten bolts and ensure a sturdy structure. Double-check each connection to guarantee stability and safety. As you progress through the assembly, refer back to the instructions to verify you're following the correct sequence. Proper assembly is crucial for the functionality and safety of your squat rack.
Additionally, pay attention to any weight capacity limits specified for the rack. Exceeding these limits can compromise the integrity of the equipment and pose risks during your workouts. As you complete the assembly, take a moment to inspect the rack for any potential issues or missing parts before proceeding to the next step.
Step 3: Adjusting the Height and Position
After setting up the squat rack, it's essential to adjust the height and position to suit your body and workout needs. The height of the J-hooks or spotter arms should align with your lifting range to ensure proper support during exercises. Test different heights to find the most comfortable and safe position.
Position the safety bars at an appropriate level to catch the barbell if you fail a rep, preventing injuries. Consider the position of the rack within your workout space; it should allow you to move freely and perform exercises without any hindrance. Making these adjustments will enhance your comfort and confidence while using the squat rack.
Moreover, customise the width of the rack to fit your body dimensions and preferred grip width. This personalisation ensures a tailored workout experience that caters to your unique strengths and limitations. By fine-tuning the height and position of the squat rack, you optimise safety and efficiency in your training sessions.
Step 4: Testing the Stability and Safety Measures
Once you've completed the setup and adjustments, it's time to test the stability and safety measures of your squat rack. Begin by performing unloaded barbell movements to assess the rack's stability under light loads. Check for any wobbling or tilting that could indicate an insecure setup.
Gradually increase the weight to test the rack's capacity and your comfort level with heavier loads. Confirm that the safety features, such as J-hooks, spotter arms, and safety bars, function correctly and provide adequate protection during your lifts. If you notice any instability or safety concerns, revisit the setup and make necessary adjustments.
Furthermore, familiarise yourself with proper safety protocols for using the squat rack, including how to bail out of a failed lift safely. Practice proper form and use spotters when attempting maximal lifts to mitigate risks. Regularly inspect the rack for wear and tear, tightening bolts as needed to maintain stability over time.


