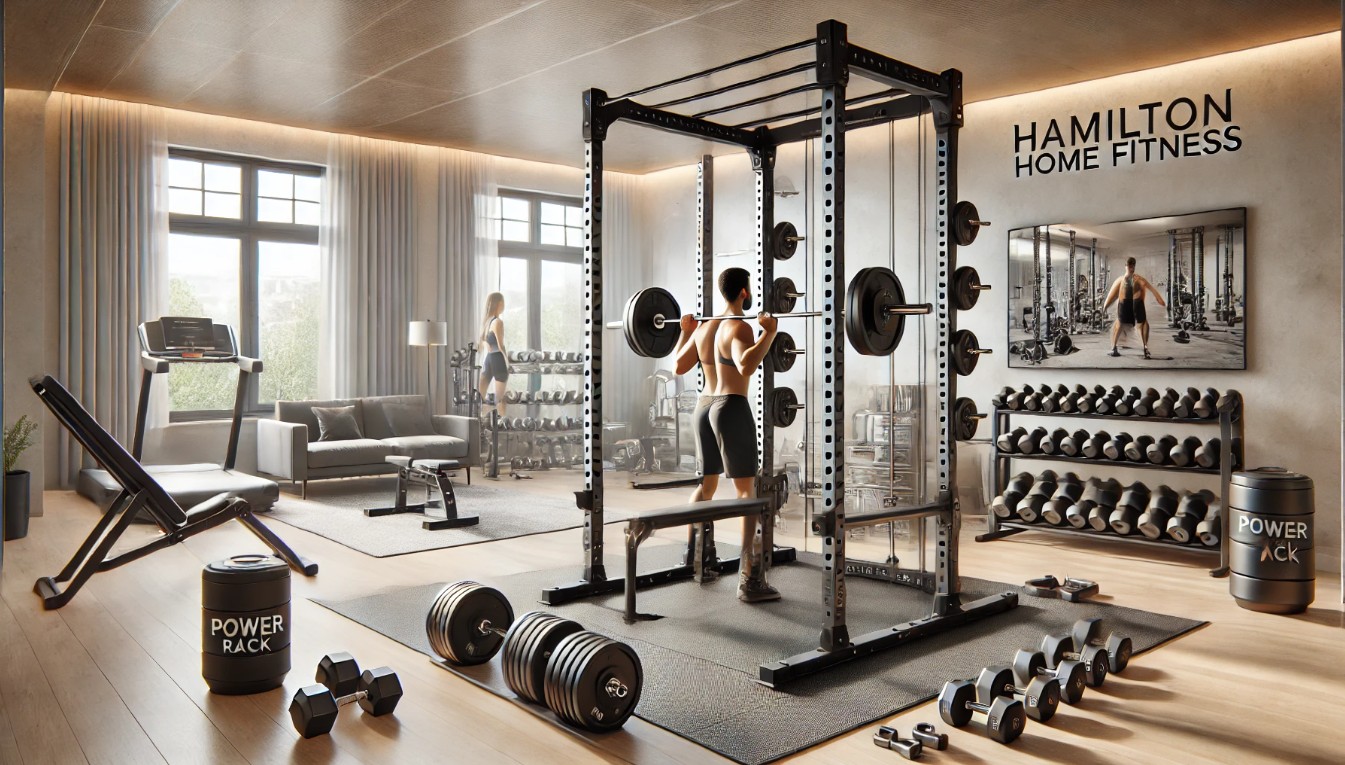
A power rack is a key piece for your home gym. It’s safe, flexible, and perfect for all fitness levels. At Hamilton Home Fitness, we offer top-quality power racks that will improve your workout. This guide will show you how to install your Hamilton Home Fitness power rack step-by-step.
Why Choose Hamilton Home Fitness for Your Power Rack?
Before you start, let’s explain why Hamilton Home Fitness is the best choice for your home gym. We offer power racks that are strong, safe, and built to last. Here’s why we stand out:
Built to Last: Our power racks are made with the best materials. They are made to handle intense workouts.
Great for All Workouts: Our racks work for all kinds of exercises—squats, deadlifts, presses, and more.
Fits Your Space: Hamilton Home Fitness racks are space-friendly and can fit in any room.
Top-notch Service: We focus on making sure our customers are happy. Your satisfaction is our goal.
Ready to start? Let’s move on to installing your Hamilton Home Fitness power rack.
Step 1: Pick the Right Power Rack for You
Choosing the right power rack is important. At Hamilton Home Fitness, we have different types for all needs:
Multi-Function Power Racks: Our racks come with features like pull-up bars and storage for weights.
Adjustable Power Racks: These racks let you change the height and safety settings for more flexibility.
Heavy-Duty Power Racks: For serious lifters, these racks handle heavy lifting and tough routines.
Visit our Product Page to see all of our options and pick the one that fits your needs.
Step 2: Prepare Your Space
Before you set up your power rack, get your space ready. Here’s what to do:
Check the Space: Make sure you have enough room for the power rack. You need at least 8-10 feet of space, especially for pull-ups.
Use the Right Flooring: A flat, solid floor is best. If you have wood or tile, use protective mats.
Room Around the Rack: Leave space to move freely and place your weights.
Once your space is ready, let’s move to the next step.
Step 3: Unbox and Check Your Power Rack
Carefully take the power rack out of the box. Check to make sure all parts are there. You should have:
The rack frame
Safety bars
Pull-up bar (if included)
Adjustable parts
Bolts and fasteners
Tools (if included)
If anything is missing or damaged, reach out to our customer service team.
Step 4: Assemble the Power Rack
Now it’s time to put the Hamilton Home Fitness power rack together. Here’s how to do it:
Build the Frame: Start by connecting the vertical posts. Use the bolts to tighten everything.
Attach the Pull-Up Bar: If your rack has a pull-up bar, attach it to the top of the frame. Make sure it’s secure.
Set the Safety Bars: Place the safety bars at the height you need. These keep you safe while lifting.
Add Adjustable Parts: If you have adjustable features, add them next. These might include j-hooks or dip stations.
Double-Check Everything: Make sure all bolts are tight and that the frame is steady.
For more help, check out our Power Rack Ultimate Guide.
Step 5: Secure the Power Rack to the Floor (Optional)
For added safety, you can secure your power rack to the floor. This is especially important if you plan to lift heavy weights.
Floor Anchors: If you have a concrete or wooden floor, use anchors to keep the rack in place.
Rubber Mats: Use rubber mats for extra protection and stability.
Step 6: Add Accessories and Weights
Now that your rack is set up, it’s time to add accessories and weights. Hamilton Home Fitness offers many products to complete your setup:
Olympic Weight Plates: These plates are made for heavy lifting and will last for years.
Barbells: Choose from our selection of high-quality barbells for all types of lifts.
Storage Options: Keep your gym organized with our weight storage racks.
Step 7: Test Your Setup and Start Training
Before you jump into your workout, test your power rack. Start with light weights to make sure everything is secure. Once you feel good, increase the weight and intensity.
Best Exercises to Do with Your Power Rack
Once your power rack is ready, here are some exercises you can do:
Squats: Great for your legs and core.
Deadlifts: Works your lower back, legs, and core.
Bench Press: Targets your chest, shoulders, and triceps.
Pull-Ups: Great for building upper body strength.
For more exercises and tips, visit our Power Rack Ultimate Guide.
Why Choose Hamilton Home Fitness?
At Hamilton Home Fitness, we offer the best power racks for home gyms. Our racks are built for performance, safety, and durability.
Expert Craftsmanship: We make racks that can handle any workout.
Customer Focused: Our goal is to make sure you’re happy with your equipment.
Ready to start? Visit our homepage to order your power rack today!
Frequently Asked Questions
1. Why should I choose Hamilton Home Fitness?
Hamilton Home Fitness is known for its high-quality gym equipment. Our power racks are built for both beginners and professionals.
2. How do I choose the right power rack?
Think about your available space and the exercises you plan to do. We offer different types to fit all needs. Visit our Product Page for help.
3. Can I adjust my Hamilton Home Fitness power rack?
Yes! Many of our racks are adjustable. You can change the height and safety settings for different workouts.
4. Do I need help to assemble the power rack?
Assembly is easy, and we provide instructions. If you need help, contact us for support.
Conclusion
Setting up a power rack in your home gym is a great choice for your fitness goals. With Hamilton Home Fitness, you get high-quality, durable equipment that fits your needs. Visit our homepage and get started today!


